Day by day, technology is moving faster than ever before and accepting the changes in technology is very important. Being a app developer, it is such a headache for an android developer to generate android package (apk) using android studio to meet the other teams’ requirement based on some development or testing. Once the application processed all the testing, android developer need to generate the apk and upload it to google play or apk file for final testing. In this article, we going to share how to automate the apk generation through CI/CD pipeline with the help of Jenkins and Git. Before we move to discuss the apk development using Jenkins, we should first know what Jenkins is and other important information about apk development using Jenkins. Team Tweaks, the best firm Android app development company in Chennai where they have developed top-notch products.
What is GitLab?
GitLab is an important platform for developers and it provides you with a complete DevOps platform delivered to you as a single application. GitLab has made Concurrent DevOps possible for you and it is a unique platform to make your organization free of the constraints from the pieced-together toolchain. It is highly efficient and gives you a rather cost-effective solution to all of your DevOps problems. It is speedy too so that your precious time is not wasted and on top of all that GitLab also does not compromise your security over speed.

What is continuous integration CI/CD?
It is a development practice that asks developers to integrate code into a shared repository a number of times in a single day. Every check-in is verified by an automated build that makes detection of problems early and in time. It is most helpful in cases where multiple contributors changes code into a single software project.It is consisted of automatic tools that assert every new code’s correctness before it integrates it. A source code version control system is the crux of the CI process. The version control system is also added with other check to make it more efficient and these checks include syntax style review tool, code quality tests with more.

A continuous delivery pipeline uses implementation of the continuous paradigm in which automated builds, deployments and tests are orchestrated as one release workflow. It is asset of steps through which your code changes will go before making their way to production.
Jenkins

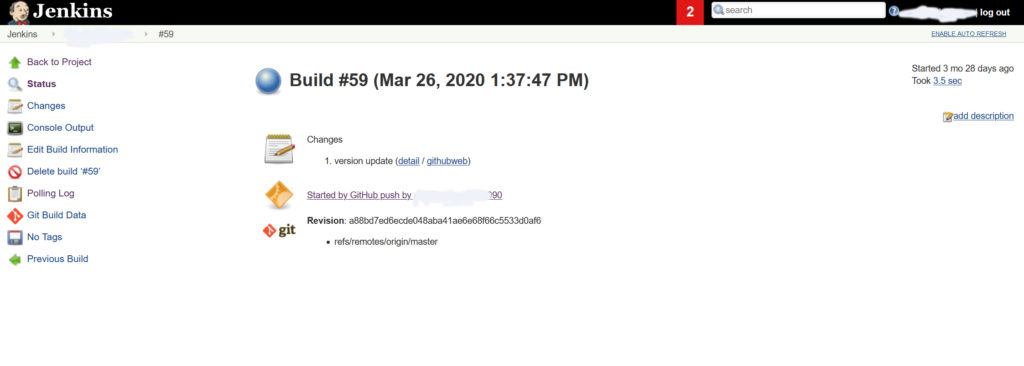
Before learning more about generation of apk through dockerization we need to learn about Jenkins, Jenkins pipelines, Jenkins installation and Jenkins on Docker also. It is one of the best tool for continuous integration, CI tools that is written in the Java programming language. It is a self-contained, open source automation server which is used to automate all sorts of tasks like deploying, testing and building software. It can be installed using Docker or kubernates like container, it can also be run standalone by any machine that uses the Java Runtime Environment. You would most likely connect every Jenkins project to a SCM tool like GitLab and it will trigger builds manually whenever a source change is found. It allows you to use around 1000 plug-ins and it can work with third party services.
How to integrate GitLab with Jenkins?
If you want to integrate GitLab with Jenkins you need to follow the following steps.
- First you need to create a new GitLab user or you can also use an existing GitLab user. This account of yours will be used by Jenkins to access the GitLab projects. It is recommended if you use an account for only the purpose of using it for GitLab projects. If the account you are using for GitLab-Jenkins integration and it got activated then the integration will be disconnected and won’t work.
- Now grant the permission to the account which you have chosen for GitLab projects. It is recommended to provide the user with global Admin permission if you are integrating Jenkins with multiple GitLab projects. The other method is to add the user to each project and then you can grant developer permission.
- Then configure GitLab API access by creating a personal access token to authorize Jenkins’ access to GitLab.
- Now install and configure the Jenkins plug-ins as both plug-ins must be installed and configured so the authorization of the connection to GitLab can be completed.
- Now set up the Jenkins project that you were going to run your build on.
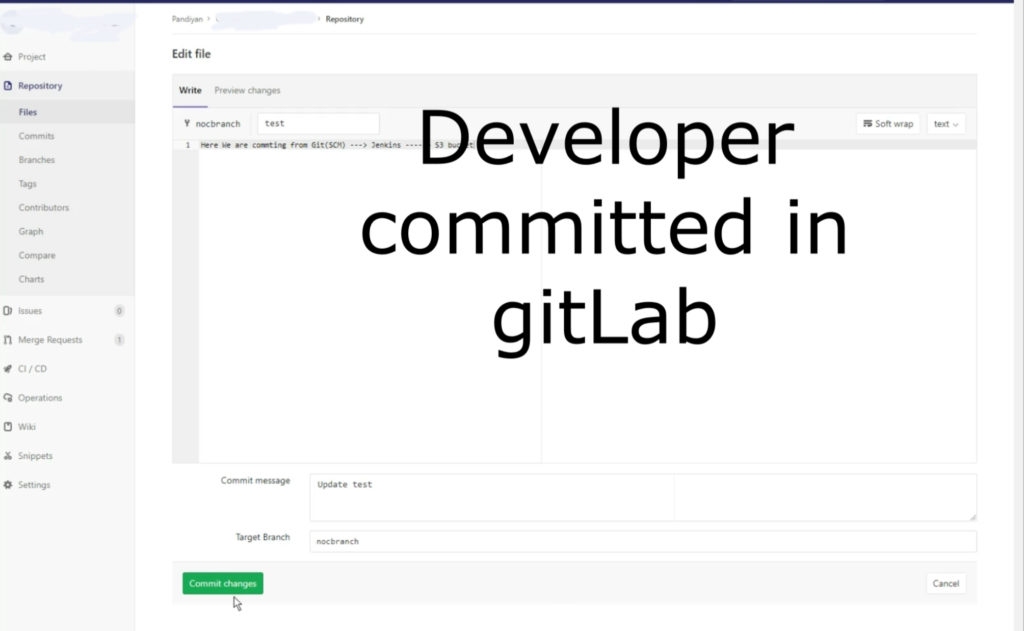
- Configure the GitLab project integration with Jenkins.

Automate the Android Signed Apk Build & Deploy Using GitLab
First we shell get started GitLab CI/CD tools or CI/CD DevOps with android and the tools used in this automation require
- The first tool we are going to use is gitlab-ci.yml which is used for configuration file for commands that runs the pipeline.
- Next tool used is Gradle play publisher plug-in and it is a Gradle plug-in that allows the user to upload your App Bundle or APK and all the other app details to the Google Play Store.
- The other tool you are going to need is Android Emulator Plug-in which supports a new job with the build multi-configuration project option. It will help you to test multiple emulator configurations at the same time. You can test screen resolutions, densities and different languages with the help of this plug-in.
- Git Parameter Plug-in can be used if you have more one build branch on project.
- Now setup Gradle play publisher plug-in by opening your project level build.gradle file and set the class path. Be careful, not to choose the app/build.gradle.
- Always be sure to add a valid signing configuration to your release build, otherwise no publishing task will be created.

In order to install all these plug-ins on Jenkins you need to follow these steps.
- Go to home page.
- Select manage Jenkins
- Go to manage plug-ins
- Select ‘available’ option
- Select the plug-ins mentioned one by one
- Now hit ‘install without restart’

Now you have managed to install all the plug-ins needed for the job to be done. The next step is to configure build tool, follow the steps given below to configure build tool which is Gradle in this case.
- Go to ‘manage Jenkins’
- Now select Global Tool Configuration and configure Gradle and setup Gradle version which is used for your application building
Now we have to configure JDK
- Select manage Jenkins
- Now select Global Tool Configuration
- Configure JDK and set up JAVA_HOME

Now you have to configure your build job, follow the steps given below.
- Select ‘configure’ if your project have more than one build branch on you GIT repository and select ‘this project is parameterized’
- then select Git Parameter
- A Gradle path selector will be helpful to specify which application to build if your project has more than one application
- Now select ‘choice parameter Go’ to source code management and Select Git
- Fill the Git repository URL and provide credentials if the repository is private
Setup Branch to Build
Go to ‘build’ section and select ‘invoke Gradle script that select Gradle version, you can use build.gradle for gradle path directly if you project has on build.gradle. Now save and apply the work you have done so far. Now you are able to run your Android build. Now go to ‘build with parameter’ and select ‘branch’ and then select ‘gradle/application’ which you want to build.
If you want to run test on your device you need to configure a virtual device. Make sure that you have selected the ‘show emulator window’ option as your job must not depend on the availability of a display server.
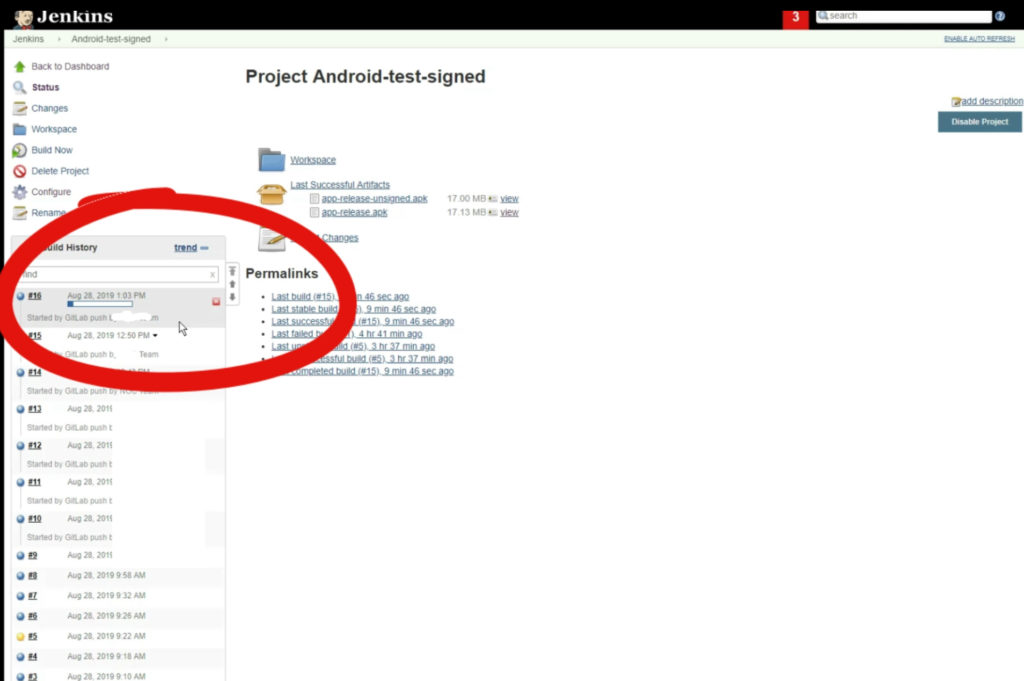
The Result .

It is known to professional developer that your system memory gets almost completely taken over by android studio when apk is being generated. Android developers can make their life easier and convenient by generating apk using Jenkins according to their requirements.
Finally, we are successfully upload Android App Bundle to S3 bucket. There is option to generate the signed apk and directly upload it to Google play store console.


